<iframe src="https://www.googletagmanager.com/ns.html?id=GTM-PTNH37SF" height="0" width="0" style="display:none;visibility:hidden" />
Chris Hall • April 4, 2025
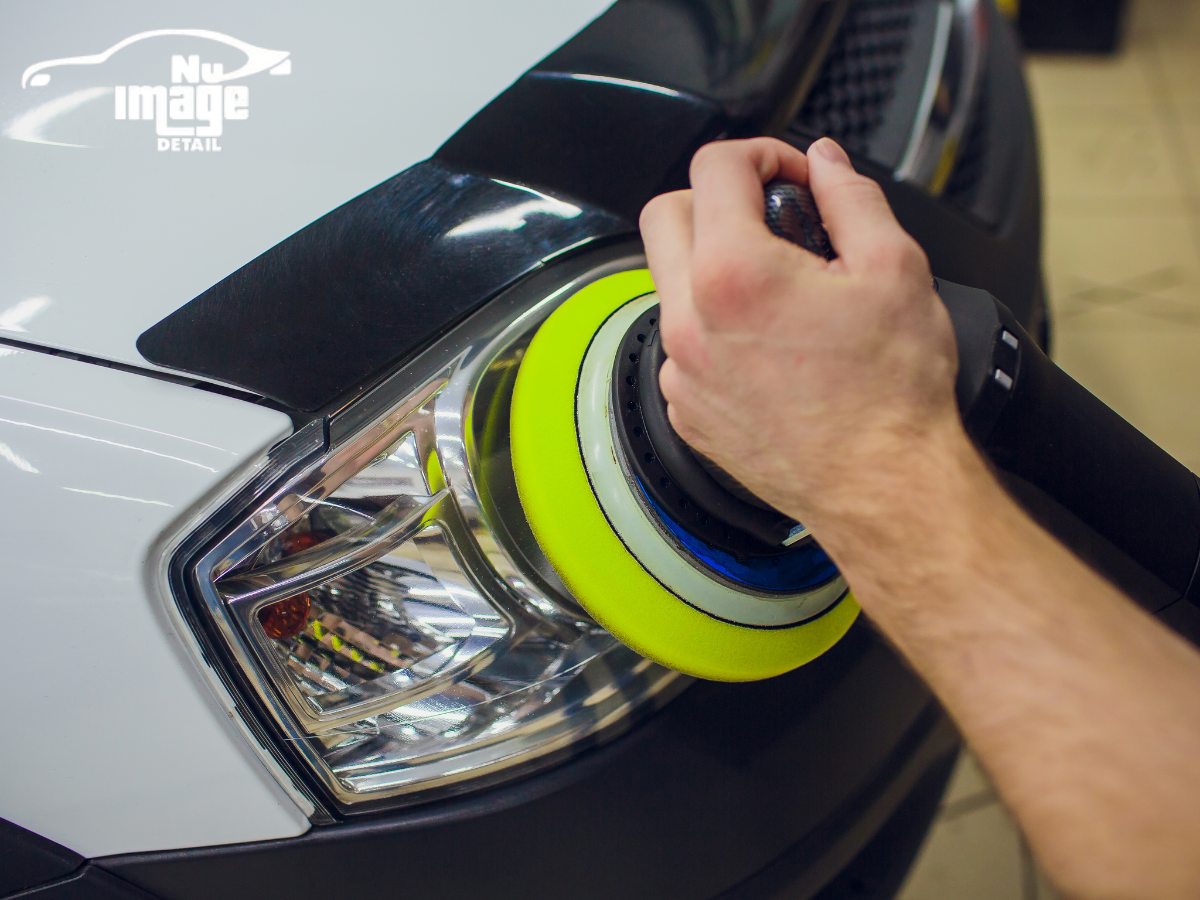
HOW TO RESTORE CAR HEADLIGHTS
(757) 689-8091
Get Your E-Gift Card Now!
Chris Hall • April 4, 2025
HOW TO RESTORE CAR HEADLIGHTS